Custom embroidery often feels like magic. You send a file, and a few days later, you get a box of beautifully stitched apparel. But behind every stitch is a careful blend of technology, artistry, and skilled craftsmanship.
At Bison Embroidery, we believe transparency builds trust. Step into our workshop as we walk you through the journey of a custom order.
Step 1: Designing Your Artwork
It all starts with a great design. Whether you have a vector logo or a sketch on a napkin, our design team reviews your creative to ensure it’s suitable for embroidery. We look for small text or gradients that might need adjusting.
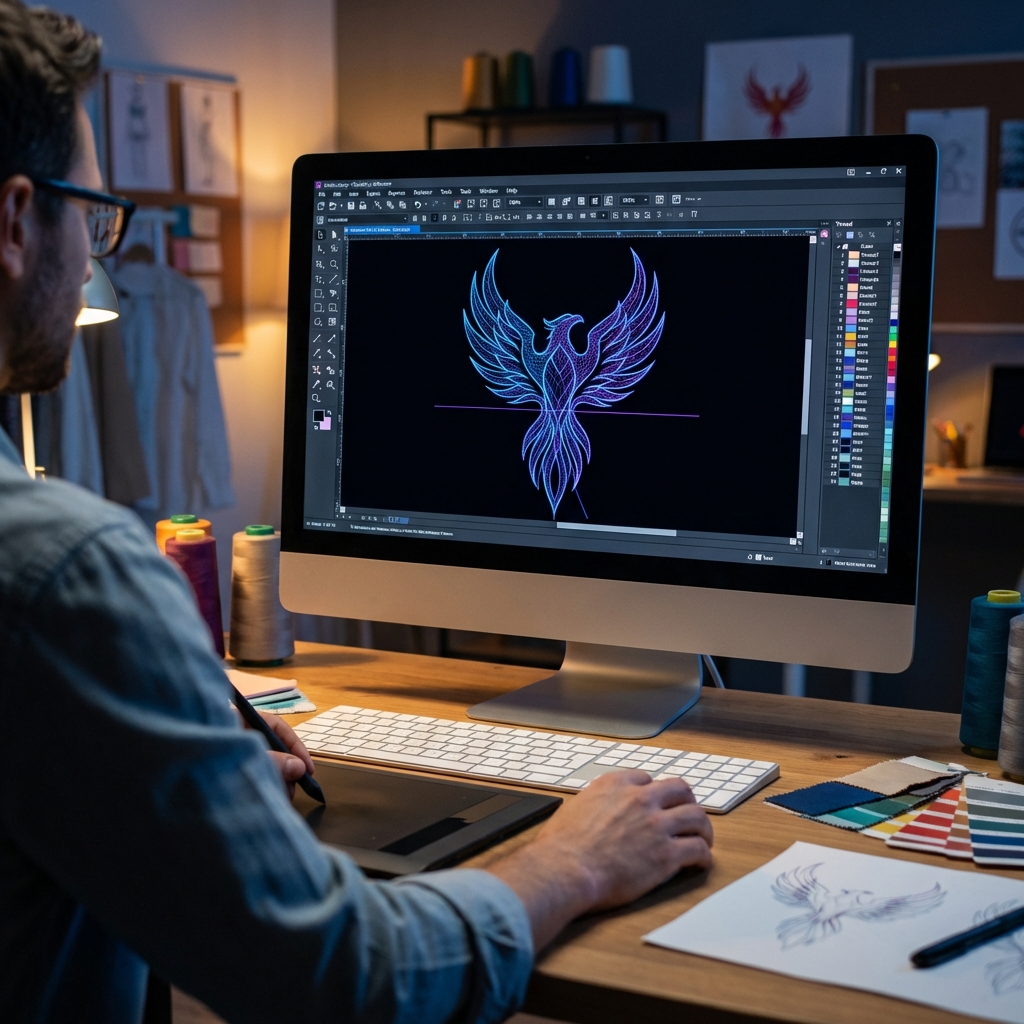
Step 2: Digitizing the Design
This is where the magic happens. We don’t just “print” your logo; we have to tell the machine exactly where to place every single needle drop. This process, called digitizing, requires specialized software and an expert eye.
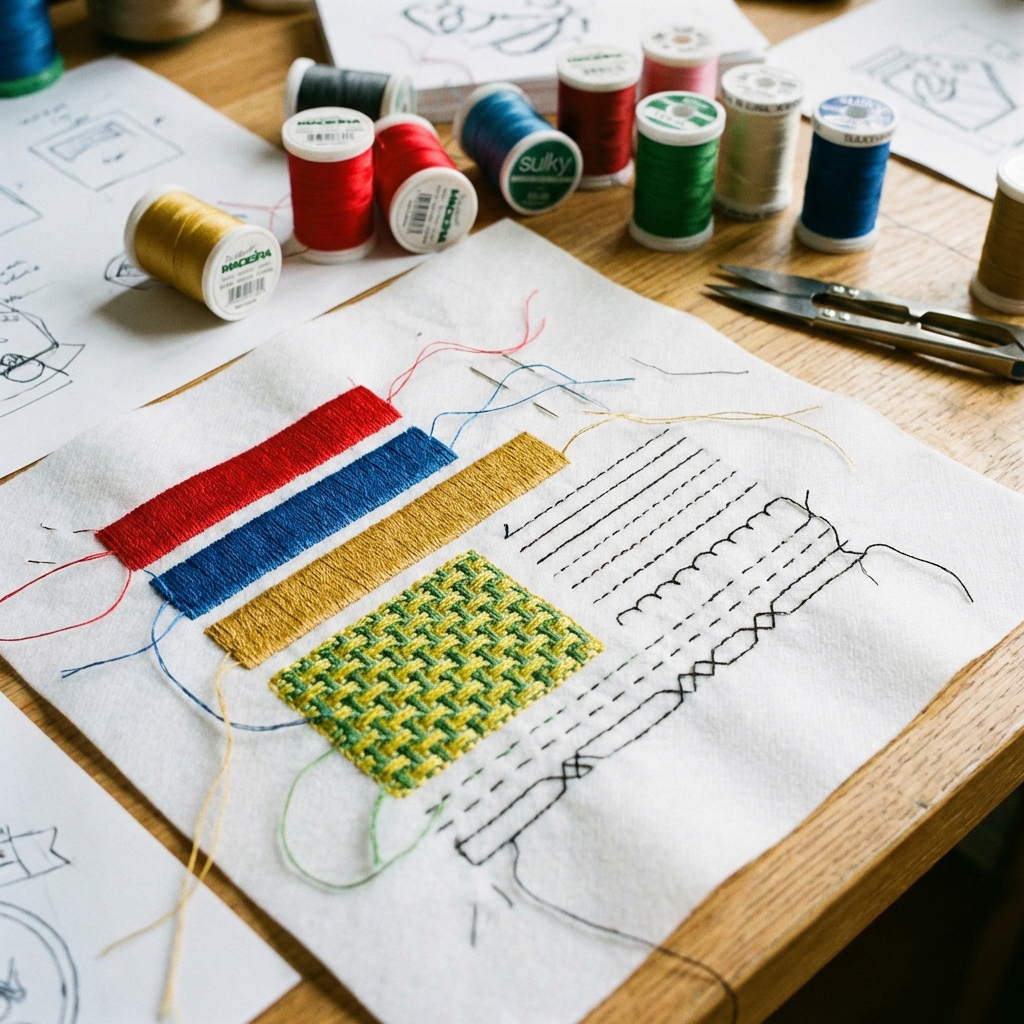
Step 3: Choosing Thread Colors & Fabrics
We match your brand colors as closely as possible using our extensive library of threads. We also select the right stabilizer (backing) for your garment—heavy backing for hoodies, lighter for dry-fit shirts.
Step 4: Test Stitch & Sampling
We never guess. Before we touch your items, we run a “sew-out” on a scrap piece of fabric to verify that the tension, density, and registration are perfect.
Step 5: Production & Trim
The hoops are loaded, the machine hums to life, and the needles dance. Once the sewing is done, our finishing team painstakingly trims any jump stitches and removes the backing.
Step 6: Quality Control
Every single item is inspected by hand. If a thread is out of place, we fix it. If a hat is puckered, we reject it. We only ship what we’d be proud to wear ourselves.
Common Mistakes to Avoid
- Gradients: Embroidery works best with solid colors. Gradients are difficult to replicate.
- Tiny Text: Keep lettering at least 0.25 inches tall for legibility.